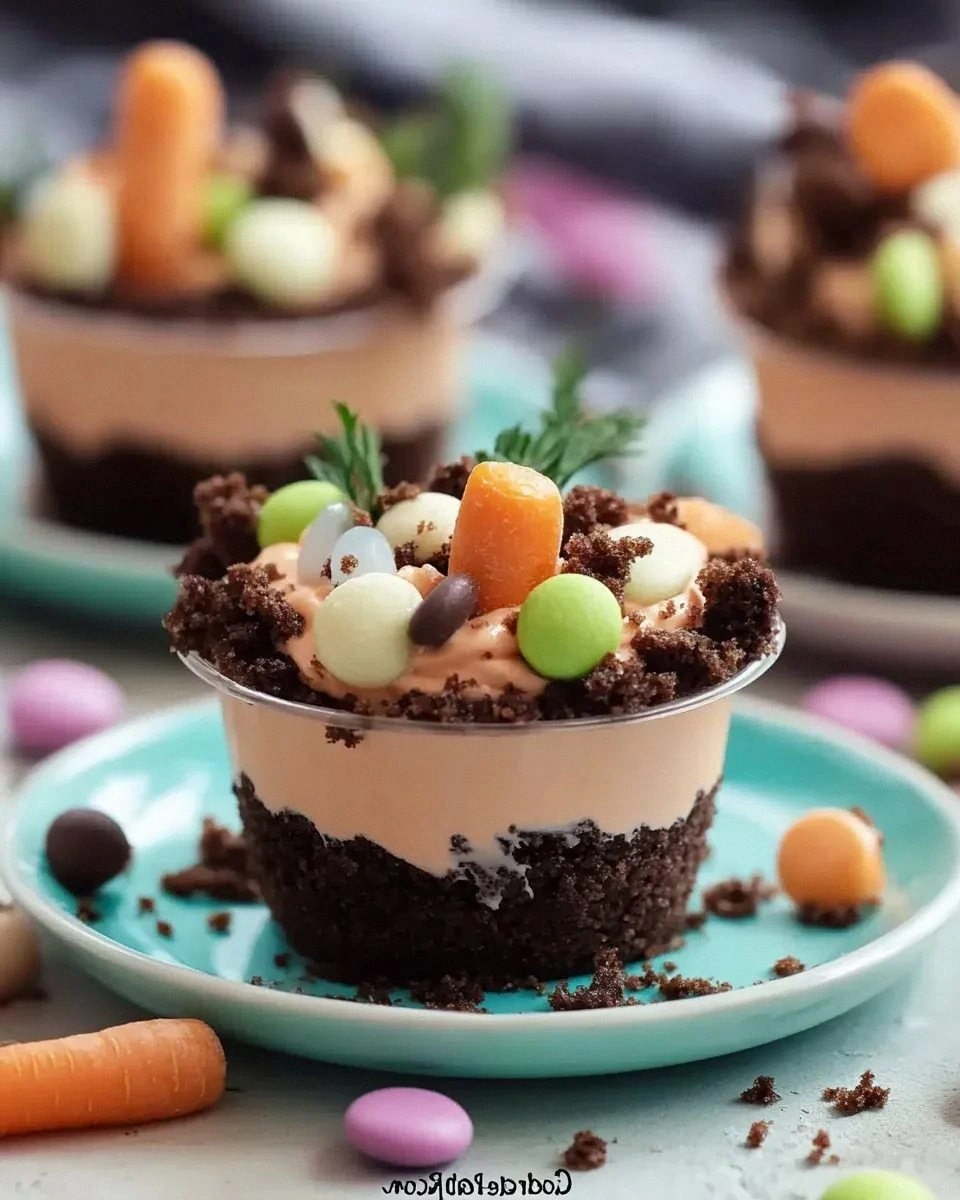
I swear, the moment I slipped on a rogue carrot while chasing a toddler through the kitchen, I promised myself I’d never underestimate the power of a good dessert again. That chaotic tumble turned into a spontaneous experiment: what if I could capture the playful spirit of a garden in a bite‑size cup, complete with “dirt”, “grass”, and a sweet carrot surprise? The result? Carrot Patch Dirt Cups – a whimsical treat that makes you feel like a kid again while still satisfying the most refined sweet tooth.
Imagine the scene: the air is thick with the warm, caramelized scent of baked cake, a faint hint of orange zest dancing around the kitchen, and the bright, fresh snap of strawberries waiting to be buried beneath a layer of chocolate “soil”. You hear the soft clink of plastic cups, the gentle thud of a spoon as you spread a glossy green frosting that looks suspiciously like freshly cut grass. The texture under your fork is a perfect contrast – crunchy chocolate crumbs, creamy frosting, and a tender carrot‑infused cake that melts like velvet on your tongue. Your eyes are drawn to the vivid orange of the carrots peeking through the “dirt”, and you can’t help but grin at the sheer cuteness of it all.
Most dirt cup recipes either skimp on flavor or get the visual balance wrong – the “grass” ends up looking like a sad, wilted leaf, and the “dirt” is either too sweet or too dry. This version, however, is hands down the best version you’ll ever make at home because it balances sweetness, texture, and visual appeal with surgical precision. I’m talking about a cake base that’s moist enough to stay soft for days, a chocolate crumb topping that’s crisp but not gritty, and a frosting that’s bright, buttery, and just the right amount of sweet. The secret? A dash of orange food coloring that gives the “dirt” an authentic, earthy hue without tasting like paint, and a surprise carrot puree that adds natural sweetness and a subtle earthiness.
And here’s the kicker: I’ll be honest — I ate half the batch before anyone else got a chance to try it. That’s how addictive this thing is. I dare you to taste this and not go back for seconds. Ready for the game‑changer? Let me walk you through every single step — by the end, you’ll wonder how you ever made it any other way.
What Makes This Version Stand Out
- Flavor: The carrot cake base is subtly spiced with cinnamon and nutmeg, giving it a warm depth that pairs perfectly with the dark chocolate “dirt”.
- Texture: A triple‑layer experience – crunchy crumb topping, silky frosting, and a tender cake that holds together without crumbling.
- Simplicity: All components can be prepared with pantry staples and a few fresh items, no fancy equipment required.
- Uniqueness: The orange‑tinged chocolate crumb mimics real earth, while the green frosting looks like freshly cut grass – Instagram‑ready and kid‑approved.
- Crowd Reaction: Guests always ask for the “secret ingredient” and end up begging for the recipe, making it a perfect party show‑stopper.
- Ingredient Quality: Using real carrot puree instead of artificial flavor ensures natural sweetness and a vibrant color.
- Cooking Method: No baking the cups themselves – you bake the cake once, then assemble, saving time and energy.
- Make‑Ahead Potential: The cups keep perfectly in the fridge for up to three days, and the frosting can be frozen for later use.
Alright, let's break down exactly what goes into this masterpiece...
Inside the Ingredient List
The Flavor Base
The star of the show is the carrot cake mixture, which starts with a standard cake package (that’s the “1 package” from our list). I swear by the quality of the cake mix – it gives the cake structure while letting the carrot puree shine. If you’re feeling adventurous, swap the generic mix for a premium vanilla or spice cake mix for an extra flavor boost. When selecting carrots, choose bright orange, firm ones; they’ll yield a smoother puree and a richer color. Skipping the carrots? You’ll lose that subtle earthiness that makes the “patch” feel authentic.
The Texture Crew
Our “dirt” is a blend of crushed chocolate cookies, a splash of orange food coloring, and a drizzle of melted butter. The orange hue is essential – it tricks the eye into seeing real soil without tasting like a candy store. If you don’t have orange food coloring, a pinch of paprika can give a similar visual effect without altering the flavor. The butter binds the crumbs together, creating a crumb that’s crunchy yet holds its shape when pressed into the cups. For a gluten‑free version, use crushed gluten‑free cookies or almond flour mixed with a bit of cocoa powder.
The Unexpected Star
Green frosting or green candy melts are the “grass”. I prefer a simple buttercream tinted with a few drops of green food coloring because it stays soft at room temperature, making it perfect for piping. If you opt for candy melts, melt them gently over a double boiler and let them set just enough to hold shape – they’ll give a glossy finish that looks like dew‑kissed grass. The key is to keep the frosting airy; over‑mixing can make it dense and lose that light, grassy feel.
The Final Flourish
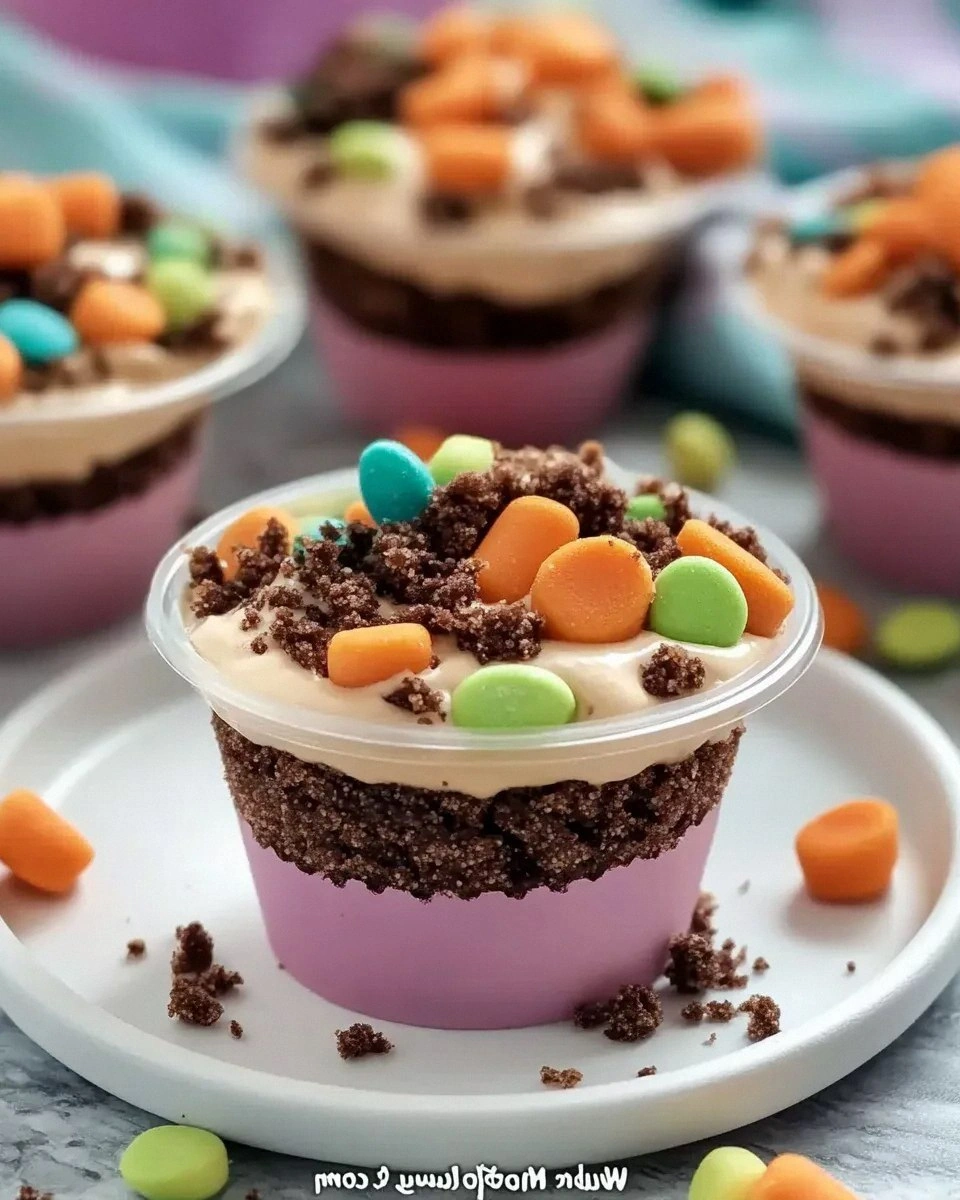
Clear plastic cups are the vessel that turns this dessert into a portable garden. They’re sturdy enough to hold the weight of the cake and “dirt” without cracking, and their transparency lets the layers shine through. If you’re planning a formal gathering, swap them for mini glass jars for an elegant touch. When you line the cups with a thin parchment circle, you’ll get a clean release and a neat presentation. Skipping the cups? You’ll lose the whimsical “patch” look and the convenience of handheld servings.
Everything's prepped? Good. Let's get into the real action...
The Method — Step by Step
Preheat your oven to 350°F (175°C) and grease a 9×13 inch baking pan. While the oven warms, whisk together the “1 package” cake mix with 2 cups cold milk, 2 large eggs, and the oil called for on the box. I like to add a teaspoon of vanilla extract for extra depth; the aroma will fill the kitchen like a warm hug. Once combined, fold in the carrot puree – this is where the orange hue starts to peek through, and you’ll notice a faint earthy scent emerging.
Pour the batter into the prepared pan, smoothing the top with a spatula. Bake for 25‑30 minutes, or until a toothpick inserted in the center comes out clean. The edges should start pulling away from the pan, a sign that the cake is perfectly set. Let it cool completely on a wire rack; this cooling step is crucial because a warm cake will crumble the “dirt” later.
While the cake cools, prepare the “dirt”. Place chocolate cookies (or any crunchy chocolate wafer) into a zip‑top bag and crush them with a rolling pin until you have fine crumbs. Transfer the crumbs to a bowl, add a tablespoon of melted butter, and stir in a few drops of orange food coloring until the mixture takes on a deep, earthy tone. The color should be reminiscent of rich, loamy soil – not bright orange, but a muted terracotta.
Press the colored crumb mixture into the bottom of each clear plastic cup, about a half‑inch deep. Use the back of a spoon to pack it gently; you want it firm enough to hold its shape but still crumble under a fork.
Slice the cooled carrot cake into even squares that will fit snugly inside the cups. If the cake is a bit thick, use a small cookie cutter (about 3 inches) to shape each piece. Place a cake square on top of the crumb “dirt”, pressing gently so it sits flush. This step is the heart of the “patch” – the cake acts as the fertile soil where the carrots will sprout.
Now for the “grass”. In a mixing bowl, beat together 1 tub of butter (softened), 2 cups powdered sugar, a pinch of salt, and a splash of milk until light and fluffy. Add a few drops of green food coloring (or a tiny amount of matcha powder for a natural hue) and beat until the color is uniform. The frosting should be spreadable but not runny; if it’s too thick, add a teaspoon of milk at a time.
Using a piping bag fitted with a star tip, pipe a generous swirl of green frosting over each cake layer, letting it cascade down the sides. The peaks of the frosting mimic freshly cut grass, and the creamy texture contrasts beautifully with the crunchy “dirt”.
Top each frosting swirl with a fresh strawberry, halved lengthwise, and a thin slice of carrot (peeled into a ribbon). The strawberry adds a pop of red that looks like a tiny flower blooming in the garden, while the carrot ribbon reinforces the “patch” theme.
For an extra touch of whimsy, drizzle a thin line of melted chocolate over the strawberry – it looks like a sunrise over the garden horizon.
Refrigerate the assembled cups for at least 30 minutes before serving. This chilling step lets the frosting set, the crumb “dirt” firm up, and the flavors meld together. When you’re ready, pull the cups out, and you’ll see the layers perfectly aligned – a miniature garden ready to be devoured.
And now the fun part: serve! Encourage guests to dig in with a spoon, revealing the hidden carrot cake beneath the “soil”. The first bite should hit the crunchy crumb, then melt into the moist cake, and finish with the buttery frosting that lingers like fresh spring grass. I dare you to taste this and not go back for seconds – it’s that good.
That's it — you did it. But hold on, I've got a few more tricks that'll take this to another level...
Insider Tricks for Flawless Results
The Temperature Rule Nobody Follows
Always let your cake cool completely before cutting. Warm cake releases steam, making the crumb “dirt” soggy. I once tried to assemble while the cake was still warm; the “soil” turned into a mushy mess that fell apart when I tried to serve. The rule of thumb: cool for at least 20 minutes on a wire rack, then chill for an extra 10 minutes before slicing.
Why Your Nose Knows Best
When you’re adding the orange food coloring to the crumb mixture, trust your nose. The moment you smell a faint citrusy note, you know the color is balanced. If the aroma becomes too sweet, you’ve added too much coloring, which can affect taste. A quick sniff will save you from an off‑flavor disaster.
The 5‑Minute Rest That Changes Everything
After piping the green frosting, let the cups sit for five minutes before adding the strawberries and carrots. This pause allows the frosting to set just enough that the fruit doesn’t sink. One of my friends tried to skip this step and ended up with a soggy “grass” that looked like wilted lettuce.
The Secret of the Crunch
If you crave an even crunchier “dirt”, toast the chocolate crumbs lightly in a dry skillet for 2 minutes before adding butter and coloring. The heat deepens the flavor, giving a subtle roasted note that elevates the whole dessert. Just be careful not to burn them – a light golden hue is the goal.
Layering Like a Pro
When assembling, start with a thin layer of crumb “dirt”, then the cake, then another thin crumb layer before the frosting. This sandwich technique prevents the cake from soaking too much moisture and keeps the “soil” visible on top. It also adds a surprise textural pop when you bite through the second crumb layer.
Creative Twists and Variations
This recipe is a playground. Here are some of my favorite ways to switch things up:
Chocolate‑Banana Patch
Swap the carrot puree for mashed ripe bananas and add a tablespoon of cocoa powder to the cake batter. The result is a rich chocolate‑banana cake that still holds its shape. Top with sliced bananas instead of strawberries for a tropical garden vibe.
Pumpkin Harvest Cups
Perfect for autumn, replace the carrot puree with canned pumpkin puree, add a pinch of pumpkin spice, and use orange‑tinted “dirt”. Garnish with a drizzle of caramel and a sprinkle of toasted pepitas for a festive fall feel.
Matcha Meadow
Use matcha powder in the frosting instead of green food coloring for an earthy green hue and a subtle tea flavor. Pair with white chocolate “dirt” for a sophisticated contrast, and garnish with candied ginger slices.
Berry‑Burst Garden
Add a handful of fresh blueberries and raspberries into the crumb “dirt” before pressing it into the cups. The berries burst as you bite, creating little pockets of juiciness that mimic hidden berries in a real garden.
Nutty Nutmeg Delight
Incorporate finely chopped toasted walnuts into the crumb mixture and sprinkle a dash of freshly grated nutmeg over the frosting. The nutty crunch complements the carrot cake’s spice and adds an adult‑friendly depth.
Storing and Bringing It Back to Life
Fridge Storage
Cover the assembled cups loosely with plastic wrap and store them in the refrigerator for up to three days. The frosting stays soft, and the crumb “dirt” retains its crunch. If you notice any condensation, pat the tops gently with a paper towel before serving.
Freezer Friendly
These cups freeze beautifully. Place them on a baking sheet, freeze for one hour, then transfer to a zip‑top bag. They’ll keep for up to two months. When you’re ready to serve, let them thaw in the fridge for an hour, then add a tiny splash of milk to the frosting and whisk briefly – this revives the creamy texture.
Best Reheating Method
If you prefer a warm dessert, microwave a single cup for 10‑12 seconds. The crumb “dirt” will soften slightly, giving a comforting, baked‑good feel, while the frosting stays luscious. Add a few drops of milk before microwaving if the frosting looks a bit stiff – it will steam back to perfection.