I was standing in my kitchen, half‑asleep, staring at a bag of flour that had been sitting untouched for weeks, when a sudden craving for pizza hit me like a freight train. Not the greasy, delivery‑box kind, but a thin‑crust masterpiece that would make even the most die‑hard Italian grandma nod in approval. The problem? My usual dough recipe demanded a two‑hour rise, a mountain of yeast, and a patience level I simply didn’t have on a Tuesday night. I tossed the yeast out the window, grabbed a tub of Greek yogurt from the fridge, and whispered a dare to myself: “I bet you can make a pizza crust in fifteen minutes without sacrificing flavor.”
The kitchen erupted with the sound of the fridge door slamming, the clatter of a measuring cup, and the faint hum of the oven preheating. I could already smell the faint tang of the yogurt mingling with the earthy scent of flour, a combination that reminded me of a Greek taverna on a breezy summer evening. My hands felt cool against the metal bowl, the dough slowly coming together like a shy lover finally giving in. The first touch was surprisingly silky, the way a well‑kissed cheek feels after a long day — soft, comforting, and promising something extraordinary.
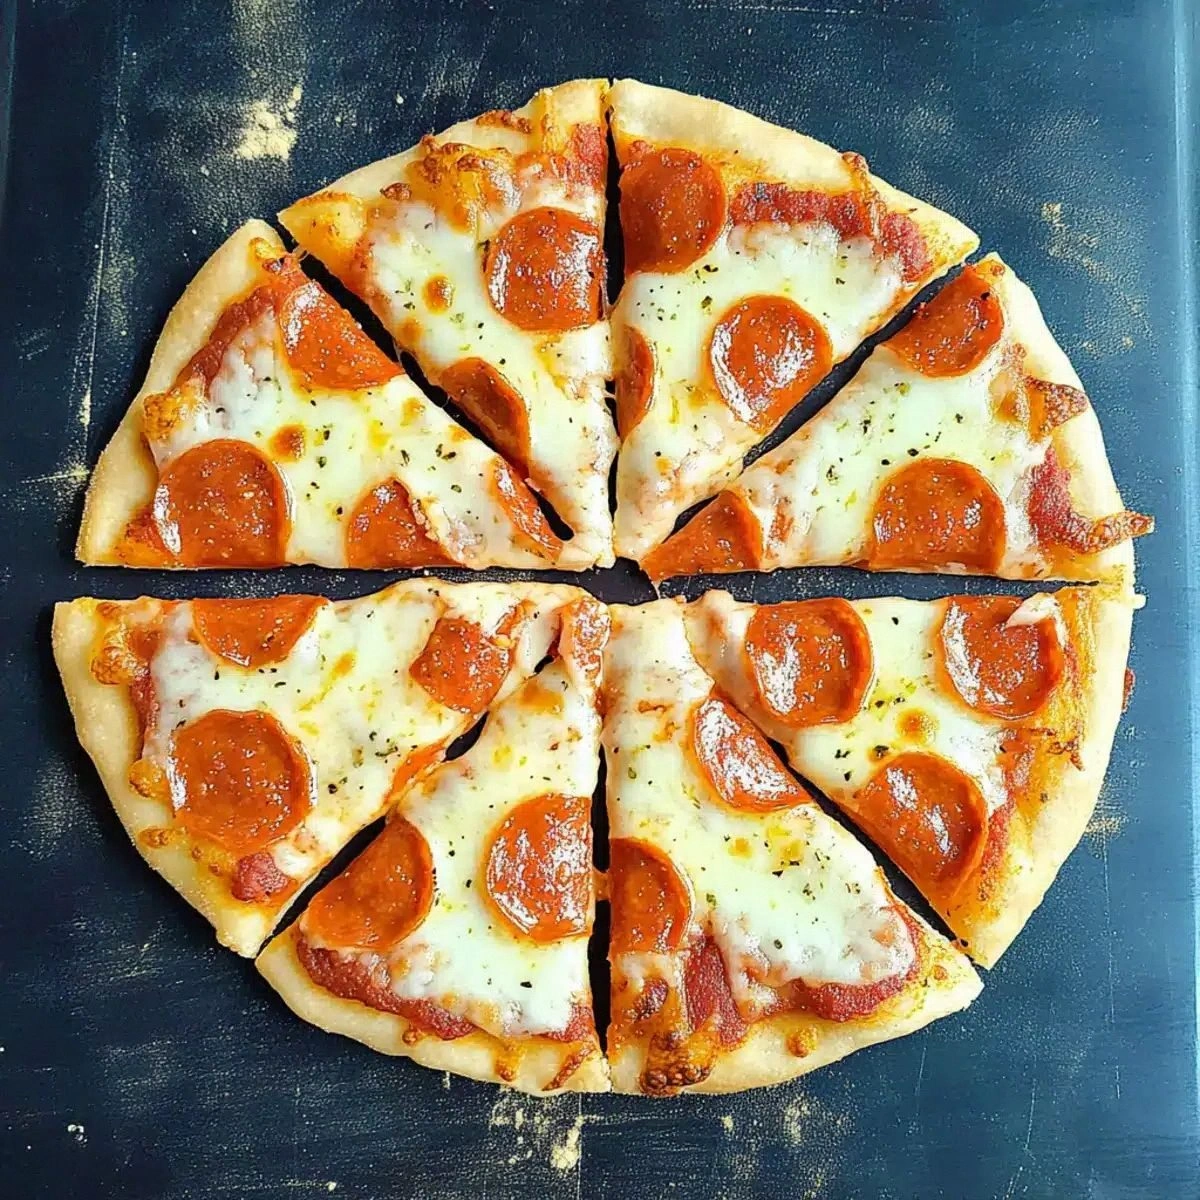
Most pizza doughs rely on yeast to create that airy, chewy texture, but this version throws that rule out the window and replaces it with the natural acidity of Greek yogurt. That acidity not only tenderizes the gluten but also adds a subtle, buttery tang that makes each bite feel like a bite of cloud‑kissed heaven. I’ll be honest — I ate half the batch before anyone else got to try it, and that was the moment I realized this wasn’t just a shortcut; it was a game‑changer. The crust turned out crisp on the edges, fluffy in the middle, and it held toppings like a sturdy, yet gentle, stage for whatever culinary drama you decide to stage.
Okay, ready for the game‑changer? Let me walk you through every single step — by the end, you’ll wonder how you ever made pizza any other way. I’m about to reveal a secret technique involving a quick “rest‑and‑stretch” that most recipes completely miss, and trust me, it’s the part that makes the crust sing. Stay with me here — this is worth it, and I dare you to taste this and not go back for seconds.
What Makes This Version Stand Out
- Taste: The yogurt adds a tangy richness that rivals traditional sour‑dough without the hours of fermentation.
- Texture: You get a crust that’s crisp on the outside, airy on the inside, and surprisingly elastic.
- Simplicity: No yeast, no proofing, just five pantry staples and a fifteen‑minute timer.
- Uniqueness: The combination of baking powder and yogurt creates a lift that’s both light and sturdy.
- Crowd Reaction: Even the most skeptical pizza purist will admit this dough is a revelation.
- Ingredient Quality: Greek yogurt brings protein and probiotics, turning a comfort food into a smart snack.
- Cooking Method: Works on a stovetop, oven, or even a grill, giving you endless flexibility.
- Make‑Ahead Potential: The dough can be refrigerated for up to 24 hours, perfect for busy weeknights.
Inside the Ingredient List
The Flavor Base
Greek yogurt is the star of this show, providing a creamy tang that cuts through the richness of the olive oil. It also adds a protein boost, turning a simple crust into a more balanced bite. If you swap it for regular yogurt, expect a thinner dough and a milder flavor profile — not the same depth, but still workable in a pinch.
The Texture Crew
All‑purpose flour gives the dough structure, while baking powder acts as the leavening agent that replaces yeast. The combination yields a quick rise, creating those airy pockets you love in a classic crust. Skipping the baking powder will result in a dense, flatbread‑like texture that’s pleasant but not what we’re aiming for.
The Unexpected Star
Fine sea salt isn’t just a seasoning; it accentuates the yogurt’s natural tang and balances the olive oil’s fruitiness. A pinch too much can make the dough tough, while a pinch too little leaves the flavor flat. If you’re watching sodium, a light drizzle of reduced‑sodium sea salt works just as well.
The Final Flourish
Extra virgin olive oil adds a luxurious mouthfeel and a subtle peppery note that lifts the entire crust. It also helps the dough brown evenly, giving you those coveted golden speckles. In a pinch you can use a light‑flavored oil, but the flavor depth will drop noticeably.
Everything’s prepped? Good. Let’s get into the real action…
The Method — Step by Step
Gather all five ingredients on a clean countertop. The moment you line them up, you’ll notice how compact the list is — no weird pantry deep‑dives needed. In a large mixing bowl, whisk the Greek yogurt until it’s smooth, like a silky paint ready for a canvas. This is the moment of truth: if the yogurt looks clumpy, give it a quick stir; you want it as homogenous as a calm lake before a storm.
Add the fine sea salt and extra virgin olive oil to the yogurt, then whisk again. You’ll hear a faint sizzle as the oil emulsifies, and that aroma is a promise of the crust’s future richness. The salt should dissolve completely; any grainy residue will turn into tiny crunchy specks that you probably don’t want.
Kitchen Hack: Use a silicone spatula to scrape the bowl sides; this ensures every droplet of yogurt is incorporated, preventing dry pockets later.In a separate bowl, whisk together the all‑purpose flour and baking powder. The baking powder should be evenly distributed; clumps will cause uneven rising. Once combined, create a well in the center of the dry mixture — think of it as a little crater waiting for the yogurt lava.
Pour the yogurt mixture into the flour well and stir with a sturdy wooden spoon. The dough will look shaggy at first, then start to pull together into a cohesive ball. This is where the magic happens: the acid in the yogurt reacts with the baking powder, creating tiny bubbles that will give the crust its lift.
Turn the dough onto a lightly floured surface and knead for about 30 seconds. Don’t over‑knead; you want a tender crumb, not a tough chew. The dough should be smooth, slightly tacky, and spring back when pressed. If it feels too sticky, dust with a whisper of flour — not a mountain, just a feather.
Now comes the five‑minute rest. Cover the dough with a clean kitchen towel and let it sit. This short pause lets the gluten relax and the bubbles settle, which translates into a crust that’s easier to stretch and less likely to spring back.
Watch Out: If you skip the rest, the dough will snap back when you try to shape it, leading to uneven thickness and potential tearing.Preheat your oven to 475 °F (245 °C) and place a pizza stone or inverted baking sheet inside. The stone should be hot enough that when you slide the dough onto it, you hear a sizzle that signals immediate crust formation. If you’re using a grill, preheat to medium‑high and oil the grates lightly.
While the oven heats, gently flatten the dough with your hands into a 12‑inch circle. Use the backs of your fingers to push the edges outward, creating a slightly thicker rim. This rim will puff up beautifully, giving you that classic pizza‑border you love. If the dough resists, let it rest another minute — the gluten will loosen.
Kitchen Hack: Place the dough between two sheets of parchment paper while shaping; this prevents sticking and makes transfer to the stone painless.Top the crust with your favorite sauce, cheese, and toppings. Because the base is already flavorful, you can go light on the sauce and let the toppings shine. Slide the pizza (still on the parchment) onto the preheated stone. Bake for 10‑12 minutes, or until the edges turn a deep golden‑amber and the cheese bubbles with a caramelized perfume.
Remove the pizza with a sturdy peel, let it rest for two minutes, then slice. The crust should crackle lightly at the edges, like thin ice under a gentle footfall, and the interior should be airy, almost pillow‑soft. That sizzle when it hits the pan? Absolute perfection. Serve immediately and watch the smiles appear.
That’s it — you did it. But hold on, I’ve got a few more tricks that’ll take this to another level…
Insider Tricks for Flawless Results
The Temperature Rule Nobody Follows
Your oven’s actual temperature can be 25 °F lower than the dial suggests, especially if you haven’t calibrated it in a while. Use an oven thermometer and aim for 475 °F true temperature; this ensures the crust gets that instant “pop” and the cheese browns just right. I once baked at 450 °F thinking it was hot enough, and the crust turned out soggy — a hard lesson learned.
Why Your Nose Knows Best
Before you even look at the timer, trust the aroma. When the edges start to smell nutty and slightly toasty, that’s the cue that the crust is nearing perfection. The scent of caramelizing cheese is a reliable indicator that the bottom is crisp without being burnt. If you ignore this, you’ll either undercook or overcook, both of which are unforgivable pizza sins.
The 5‑Minute Rest That Changes Everything
After shaping, give the dough a brief 5‑minute rest on the countertop. This micro‑relaxation lets the gluten unwind just enough to prevent shrinkage when it hits the oven’s heat. A friend tried skipping this step once — the dough snapped back, creating a lopsided pizza that looked like a science experiment.
Oil the Edge, Not the Whole Base
Brush only the outer rim with a thin layer of olive oil before baking. This creates a crispy, golden border while keeping the interior soft. Over‑oil the entire base and you’ll end up with a greasy, soggy center that no one wants. A light brush is all you need to achieve that “just‑right” crunch.
Use a Pizza Peel Like a Pro
A wooden pizza peel absorbs moisture, preventing the dough from sliding off. If you only have a metal sheet, dust it heavily with flour or cornmeal to mimic the same effect. Sliding a dough onto a hot stone without a proper peel can cause tearing — a disaster that turns a perfect crust into a patchwork quilt.
Creative Twists and Variations
This recipe is a playground. Here are some of my favorite ways to switch things up:
Herb‑Infused Crust
Add a tablespoon of finely chopped fresh rosemary or thyme to the flour before mixing. The herbs will infuse the dough with an aromatic lift that pairs beautifully with mushroom or goat cheese toppings. It’s a subtle change, but the scent that wafts from the oven is unforgettable.
Whole‑Wheat Power
Swap half of the all‑purpose flour for whole‑wheat flour. You’ll get a nuttier flavor and a boost of fiber, making the crust heartier. The texture will be slightly denser, but the yogurt’s moisture keeps it from becoming dry.
Spicy Kick
Stir in a teaspoon of smoked paprika or a pinch of cayenne pepper into the dry ingredients. This adds a gentle heat that elevates a classic Margherita into a bold, adventurous bite. Perfect for those who love a little fire without overwhelming the palate.
Cheesy Overload
Mix a quarter cup of grated Parmesan or Pecorino into the dough before kneading. The cheese melts into the crust, creating pockets of salty goodness that make each bite a mini‑cheese‑pull. It’s an indulgent twist that still feels light thanks to the yogurt base.
Gluten‑Free Adaptation
Replace the all‑purpose flour with a 1:1 gluten‑free flour blend, and add a teaspoon of xanthan gum for elasticity. The texture will be slightly more crumbly but still holds together well, especially when you keep the rest of the ingredients unchanged. A great option for friends with dietary restrictions.
Storing and Bringing It Back to Life
Fridge Storage
If you’ve baked extra crusts, let them cool completely, then wrap each piece tightly in plastic wrap and store in an airtight container. They’ll stay fresh for up to three days. When you’re ready to use them, reheat in a 350 °F oven for five minutes; the crust will regain its original crunch.
Freezer Friendly
Raw dough can be frozen for up to two months. Portion it into ¼‑pound balls, wrap each tightly in parchment, then place them in a zip‑top bag. Thaw overnight in the fridge, let sit at room temperature for 15 minutes, then shape and bake as usual.
Best Reheating Method
For leftover pizza, preheat a skillet over medium‑high heat, add a splash of water (just a few drops), and cover with a lid for one minute. The steam revives the crust’s interior while the pan’s heat crisps the bottom. This method prevents the dreaded soggy middle and brings the pizza back to life like it never left the oven.