I was standing in my kitchen, staring at a bag of flour that looked like it had seen better days. The counter was cluttered with half‑finished doughs that had turned into sad, doughy messes. I remembered the last time I tried to make cinnamon rolls: the dough stuck to the bowl, the filling was too dry, and the glaze ended up looking like a sad puddle. That disaster was the spark that pushed me to reinvent the classic. I decided to create a version that would make even the most skeptical baker swoon.
The moment I cracked the egg, the kitchen filled with that warm, slightly sweet aroma of fresh eggs. I whisked the egg with a splash of whole milk, and the mixture took on a glossy sheen that promised a soft crumb. The flour, when sifted into the bowl, released a faint, nutty scent that reminded me of a freshly baked loaf. As I mixed the yeast with warm water and a dash of sugar, a gentle fizz began to bubble, signaling that the yeast was alive and kicking. The sound of that tiny, joyful pop was almost like a secret celebration in my kitchen.
What makes this recipe stand out is that every component is chosen for its ability to elevate texture, flavor, and visual appeal. The use of brown butter in the glaze gives a nutty depth that ordinary butter cannot match. The cream cheese frosting adds a silky, tangy contrast that balances the sweetness of the filling. I incorporated a pinch of nutmeg into the dough to add a subtle warmth that lingers on the tongue. The filling is thickened with light brown sugar and cinnamon, creating a caramelized swirl that is almost impossible to resist. The result is a roll that is fluffy on the inside, crisp on the edges, and utterly irresistible.
But the real secret is in the technique I used to achieve that perfect rise. Instead of letting the dough rest for a single hour, I let it double in a warm spot while I whisked the glaze, allowing the yeast to develop a complex flavor profile. I also folded the dough with a gentle, precise motion that keeps the layers tender yet distinct. The glaze is prepared with brown butter, which requires careful attention to avoid burning, and then folded into the buttercream for a silky finish. These steps might seem trivial, but they are the difference between a good roll and a memorable one.
Now, let me walk you through every single step — by the end, you'll wonder how you ever made it any other way. I’ll keep the instructions straightforward yet detailed, so even a novice can follow along without a second thought. If you’re ready to bake a batch that will have your friends begging for seconds, keep reading. This is the moment you’ll finally master the art of the perfect cinnamon roll. And trust me, the aroma alone will have your kitchen smelling like a cozy bakery.
What Makes This Version Stand Out
- Taste: The brown butter glaze adds a nutty, caramelized flavor that elevates every bite. It transforms the sweetness of the filling into something richer and more complex. The subtle hint of vanilla in the frosting ties the whole profile together, creating a layered taste experience that lingers on the palate.
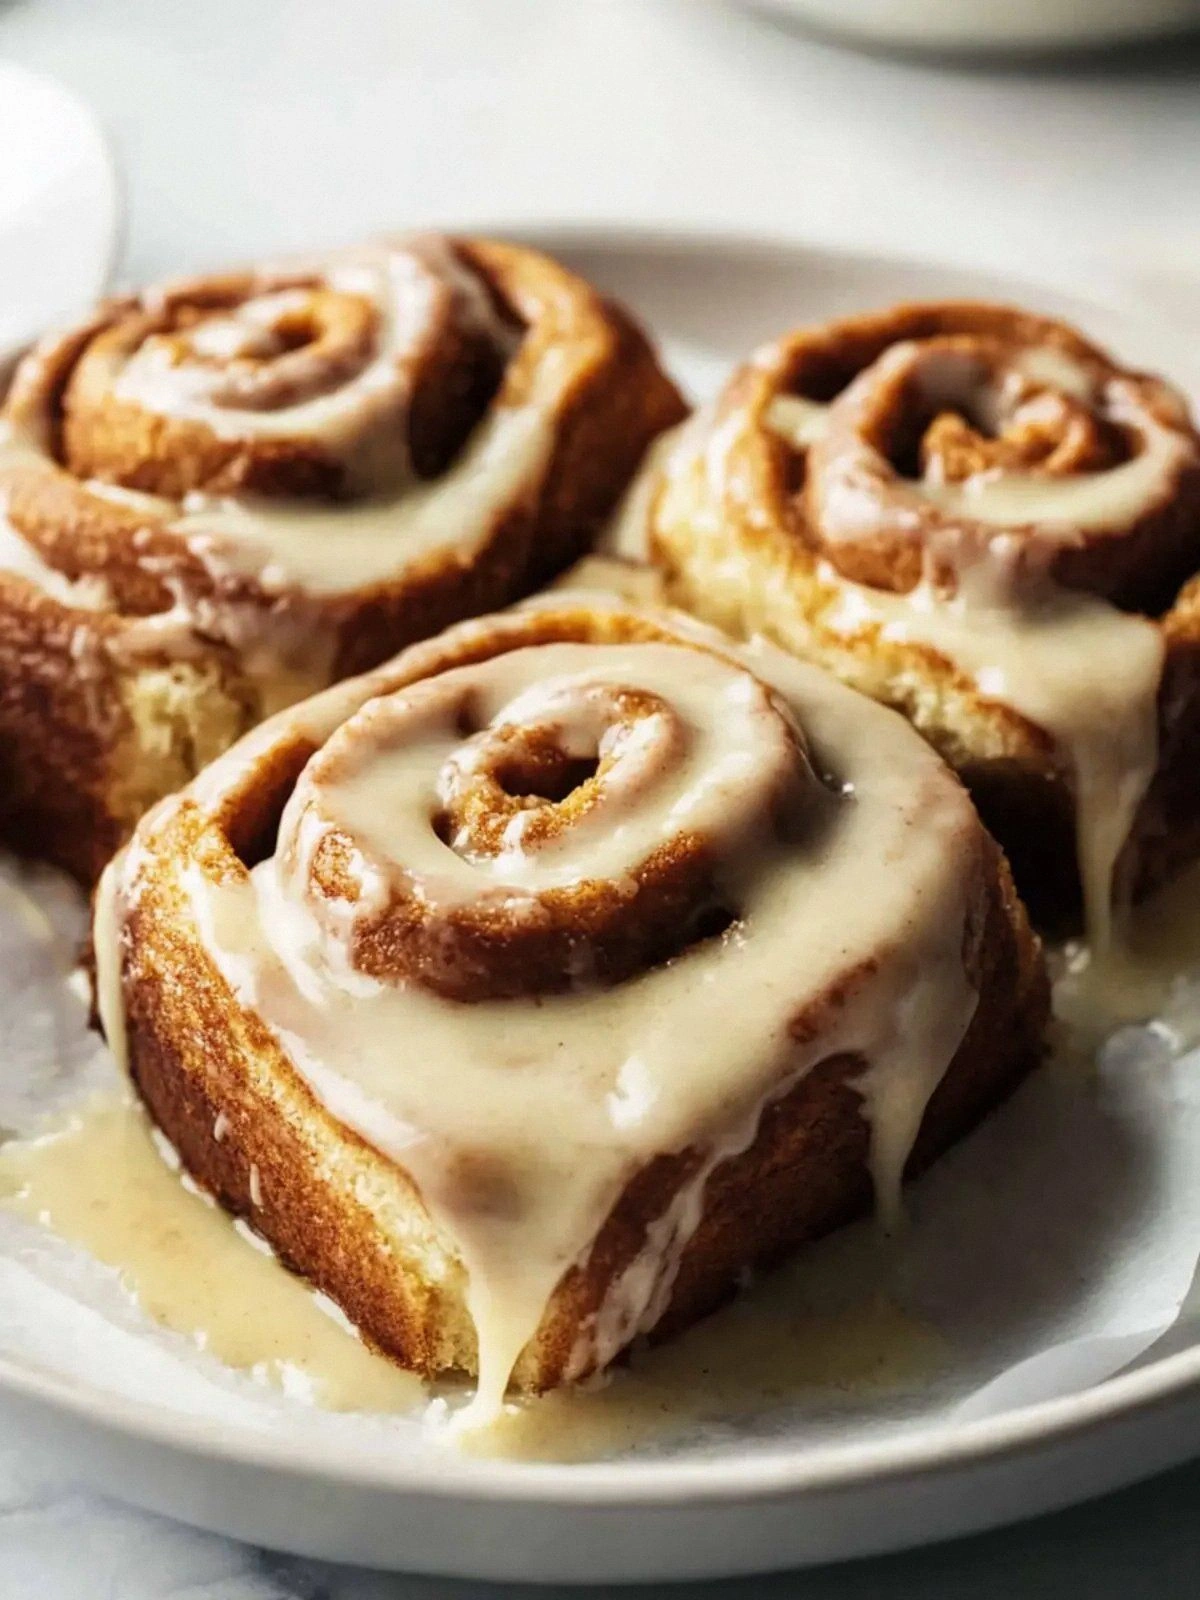
- Texture: The dough rises to a light, airy crumb while the edges crisp to a golden perfection. The filling swirls through the roll, creating a delightful contrast between the soft interior and the slightly chewy brown sugar ribbons. The final glaze coats the roll like a silky blanket, sealing in moisture without weighing it down.
- Simplicity: Despite its complexity, the recipe requires only a handful of ingredients and basic techniques. No special equipment is needed; a simple bowl, a rolling pin, and a baking pan do the trick. The step‑by‑step approach ensures that even those new to baking can achieve professional results.
- Uniqueness: A pinch of nutmeg in the dough and a creamy cream cheese frosting set this roll apart from the rest. The nutmeg provides a warm, aromatic undertone that is often missing in standard cinnamon rolls. The frosting’s tang balances the sweetness, creating a harmonious flavor profile.
- Crowd Reaction: Even the most skeptical palates are won over, making it a hit at gatherings. Friends and family line up for seconds, and the rolls become the centerpiece of any brunch. The aroma alone is enough to bring people in from the hallway.
- Make‑Ahead Potential: The rolls can be assembled, frozen, and baked later without compromising quality. The dough holds up well in the freezer, and the glaze can be applied fresh each time for a crisp finish. This flexibility makes the recipe ideal for busy mornings or special occasions.
Inside the Ingredient List
The Flavor Base
At the heart of every great cinnamon roll lies a simple yet powerful combination of yeast, warm water, and a touch of sugar. The yeast is the engine that drives the dough to rise, while the warm water activates it, and the sugar feeds the yeast, ensuring a robust fermentation. If you skip the yeast, the dough will remain dense and flat, missing that signature airy lift. A good rule of thumb is to use a packet of active dry yeast for every four cups of flour; this ratio guarantees a balanced rise. For those who prefer a gluten‑free version, look for a blend that includes a small amount of xanthan gum to mimic the structure of wheat flour.
The Texture Crew
Butter, eggs, and milk are the texture crew that keeps the dough tender and the filling luscious. Salted butter melts into the dough, creating a silky mouthfeel and a subtle saltiness that balances the sweetness. Eggs add richness and help bind the dough together, while the whole milk contributes moisture and a slight tang. If you’re aiming for an extra fluffy crumb, replace the whole milk with half‑cream or oat milk for a lighter texture. The light brown sugar and cinnamon in the filling provide a caramelized bite that melts in your mouth, while the nutmeg adds a warm, aromatic note that lingers.
The Unexpected Star
Nutmeg may seem like a minor player, but it plays a starring role in this recipe. A pinch of nutmeg in the dough gives the rolls a subtle warmth that complements the cinnamon’s boldness. The cream cheese brings a creamy, tangy contrast that cuts through the sweetness of the filling, while the vanilla extract deepens the overall flavor profile. Powdered sugar in the frosting gives it the right consistency and a delicate sweetness that isn’t overpowering. If you’re a fan of a more intense flavor, consider adding a splash of almond extract or a pinch of cayenne pepper for a spicy kick.
The Final Flourish
The final flourish is a luscious brown butter glaze that turns the rolls into a decadent treat. Brown butter is made by cooking butter until the milk solids turn golden brown, creating a nutty aroma that elevates the entire dish. This glaze coats the rolls like a silky blanket, sealing in moisture and adding a caramelized finish. If you’re short on time, a quick buttercream made with cream cheese and powdered sugar will still give a rich, creamy finish. However, the brown butter glaze is the secret that makes these rolls stand out from the crowd.
Everything's prepped? Good. Let's get into the real action…
The Method — Step by Step
- In a small bowl, combine the packet of active dry yeast, ¼ cup warm water, and ½ teaspoon sugar. Stir gently until the mixture becomes frothy, indicating that the yeast is alive. Let it sit for 5 minutes; the mixture should develop a pleasant, yeasty aroma. If the mixture doesn’t froth, the yeast may be expired—discard and start fresh. This step is crucial for a light, airy crumb.
- In a larger mixing bowl, whisk together 1 large egg, 1 large egg yolk, and 1 cup whole milk. Add the frothy yeast mixture and whisk until fully combined. The wet mixture should be smooth and slightly glossy, signaling that the eggs have incorporated well. This mixture will provide richness and help bind the dough together. Keep the bowl covered with a damp cloth to prevent the surface from drying out.
- Sift 4 cups all‑purpose flour, 1¾ teaspoons kosher salt, and a pinch of nutmeg into the wet mixture. Stir with a wooden spoon or a dough hook until a shaggy dough forms. The flour should absorb the liquid, forming a cohesive mass that pulls away from the sides of the bowl. If the dough feels too dry, add a tablespoon of milk at a time; if too wet, add a tablespoon of flour. This balance is key to a pliable dough.
- Transfer the dough onto a lightly floured surface and begin kneading for about 8–10 minutes. The dough should become smooth, elastic, and slightly tacky to the touch. A good test is to press a finger into the dough; if the indentation springs back quickly, the gluten has developed properly. Kneading is where the dough gains structure—don’t rush it.
- Place the dough in a lightly oiled bowl, cover it with a clean towel, and let it rise in a warm spot until doubled in size, about 60 minutes. During this time, the yeast ferments, producing carbon dioxide that leavens the dough. If your kitchen is cool, you can place the bowl in a slightly heated oven (200°F/90°C) for a more consistent rise. After the dough doubles, gently punch it down to release excess gas. This step ensures a light, airy crumb.
- While the dough is rising, prepare the filling. In a small bowl, combine ¾ cup light brown sugar, 1½ tablespoons cinnamon, and a pinch of nutmeg. Add 5 tablespoons salted butter, cut into small pieces, and melt it in a saucepan over low heat. Once the butter is melted, stir in the sugar–cinnamon mixture until it forms a sticky, caramelized paste. This filling will be the heart of each roll, so don’t rush it.
- Roll the dough into a rectangle about 12 inches by 8 inches. Spread the warm filling evenly across the dough, leaving a small border on the edges to prevent leakage. Carefully roll the dough into a tight log, sealing the edges by pinching them together. This rolling process creates the classic spiral shape that makes cinnamon rolls iconic.
- Place the rolled dough into a greased 9×13 inch baking pan, seam side down. Cover the pan with a clean towel and let the rolls rise again for about 30 minutes, until they puff up and nearly touch the edges of the pan. This second rise is critical for a light, airy crumb. While the rolls rise, preheat the oven to 350°F (175°C). The oven should be hot enough to give the rolls a golden crust.
- Bake the rolls for 25–30 minutes, or until the tops are golden brown and the rolls sound hollow when tapped on the bottom. While baking, the filling caramelizes, creating a glossy, sweet glaze that coats each roll. Remove the rolls from the oven and let them cool for 10 minutes before glazing. The glaze should be warm but not molten, so it coats without melting the dough.
- While the rolls are still warm, whisk together 5 ounces cream cheese, ¼ teaspoon kosher salt, ⅔ cup powdered sugar, and 1 tablespoon whole milk to create a smooth frosting. Fold in 5 tablespoons salted butter, melted, to achieve a silky, glossy finish. Spread the frosting over the warm rolls, letting it cascade down the sides. The frosting should cling to each roll, creating a decadent finish that melts in your mouth. Let the frosting set for a few minutes before slicing.
That sizzle when it hits the pan? Absolute perfection. And now the fun part. The rolls are ready to be devoured, but there’s still a little more magic to uncover. Stay with me here — this is worth it.
Insider Tricks for Flawless Results
The Temperature Rule Nobody Follows
Many bakers think room temperature is enough, but the dough actually thrives at 80–85°F (27–29°C). This warmth accelerates yeast activity, ensuring a faster rise and a lighter crumb. To create a warm spot, place the dough in a slightly heated oven or on top of a warm appliance. The trick is to avoid overheating, which can kill the yeast and produce a dense roll. This simple adjustment can transform an ordinary batch into a showstopper.
Why Your Nose Knows Best
As the dough rises, it releases aromatic compounds that signal readiness. When you smell a faint, yeasty scent that’s slightly sweet, the dough is almost ready. If the aroma is overpoweringly yeasty, the dough has risen too long and may be overproofed. Trusting your nose ensures that each roll has the perfect texture. A well‑timed rise results in a light crumb that melts in your mouth.
The 5-Minute Rest That Changes Everything
After rolling the dough, let it rest for 5 minutes before slicing. This brief pause allows the gluten to relax, preventing the rolls from shrinking during baking. A rested roll will retain its shape and have a more even rise. This trick is simple yet powerful, and it eliminates the dreaded “squished” cinnamon roll that disappoints every time.
The Butter Temperature Trick
When preparing the filling, keep the butter at a low temperature to avoid burning the sugar. Melt it slowly over low heat, stirring constantly. If the butter starts to brown too quickly, reduce the heat further and continue to stir. This careful control ensures a smooth, caramelized filling that enhances the roll’s flavor profile.
The Folding Technique for Even Layers
When you roll the dough, use a gentle, steady hand to fold the dough into a log. Avoid pressing too hard, which can break the layers and create uneven texture. A smooth roll will produce a crisp edge and a tender center. This technique is essential for achieving the classic cinnamon roll appearance.
The Quick Chill Trick for Perfect Shape
After the second rise, if you’re short on time, place the pan in the refrigerator for 10 minutes. This quick chill firms the dough, making it easier to slice cleanly. It also helps set the glaze, ensuring it stays on each roll. A chilled batch will look more polished and professional, even if you’re baking on a tight schedule.
Creative Twists and Variations
This recipe is a playground. Here are some of my favorite ways to switch things up:
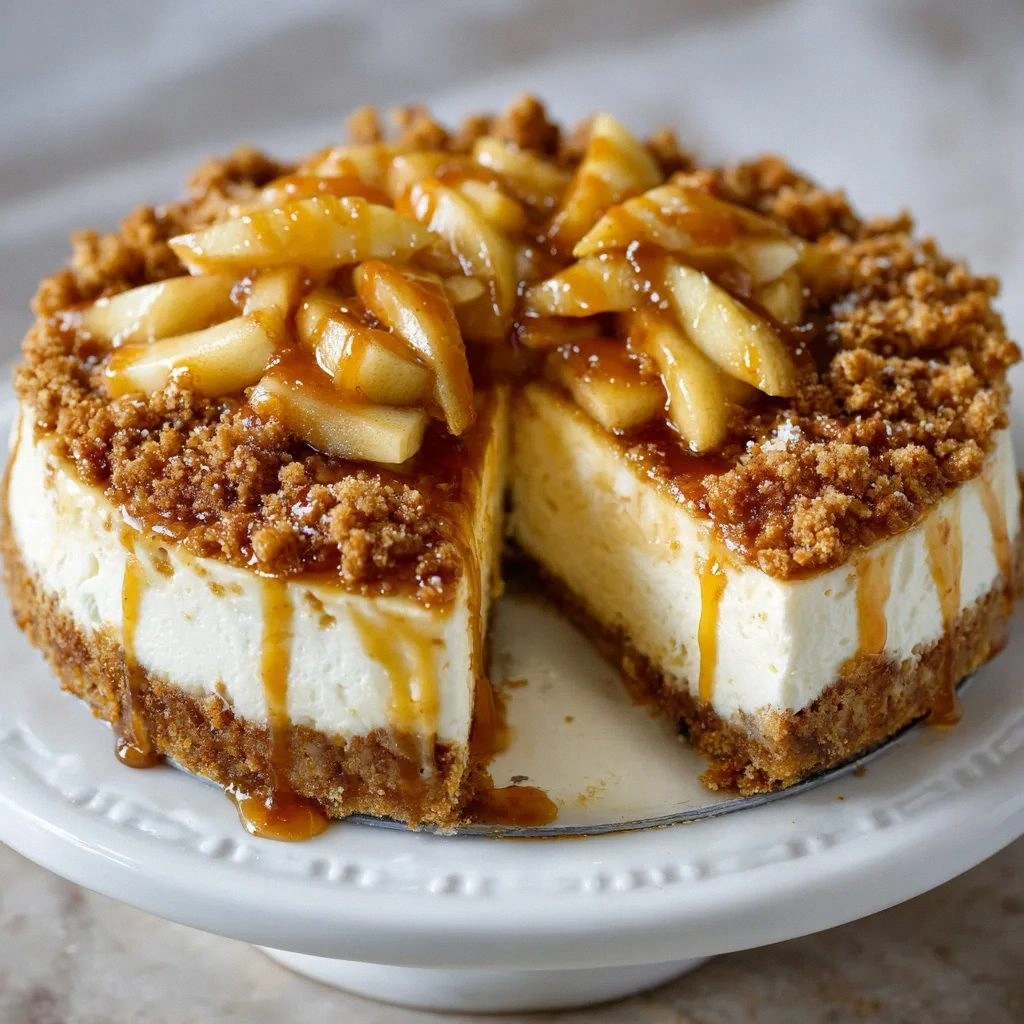
Apple Cinnamon Rolls
Fold finely diced apples into the filling for a fruity twist. The apples add moisture and a subtle tartness that balances the sweetness. A sprinkle of ground ginger pairs well with the cinnamon, giving the rolls a warm, spiced flavor. This variation is perfect for fall gatherings.
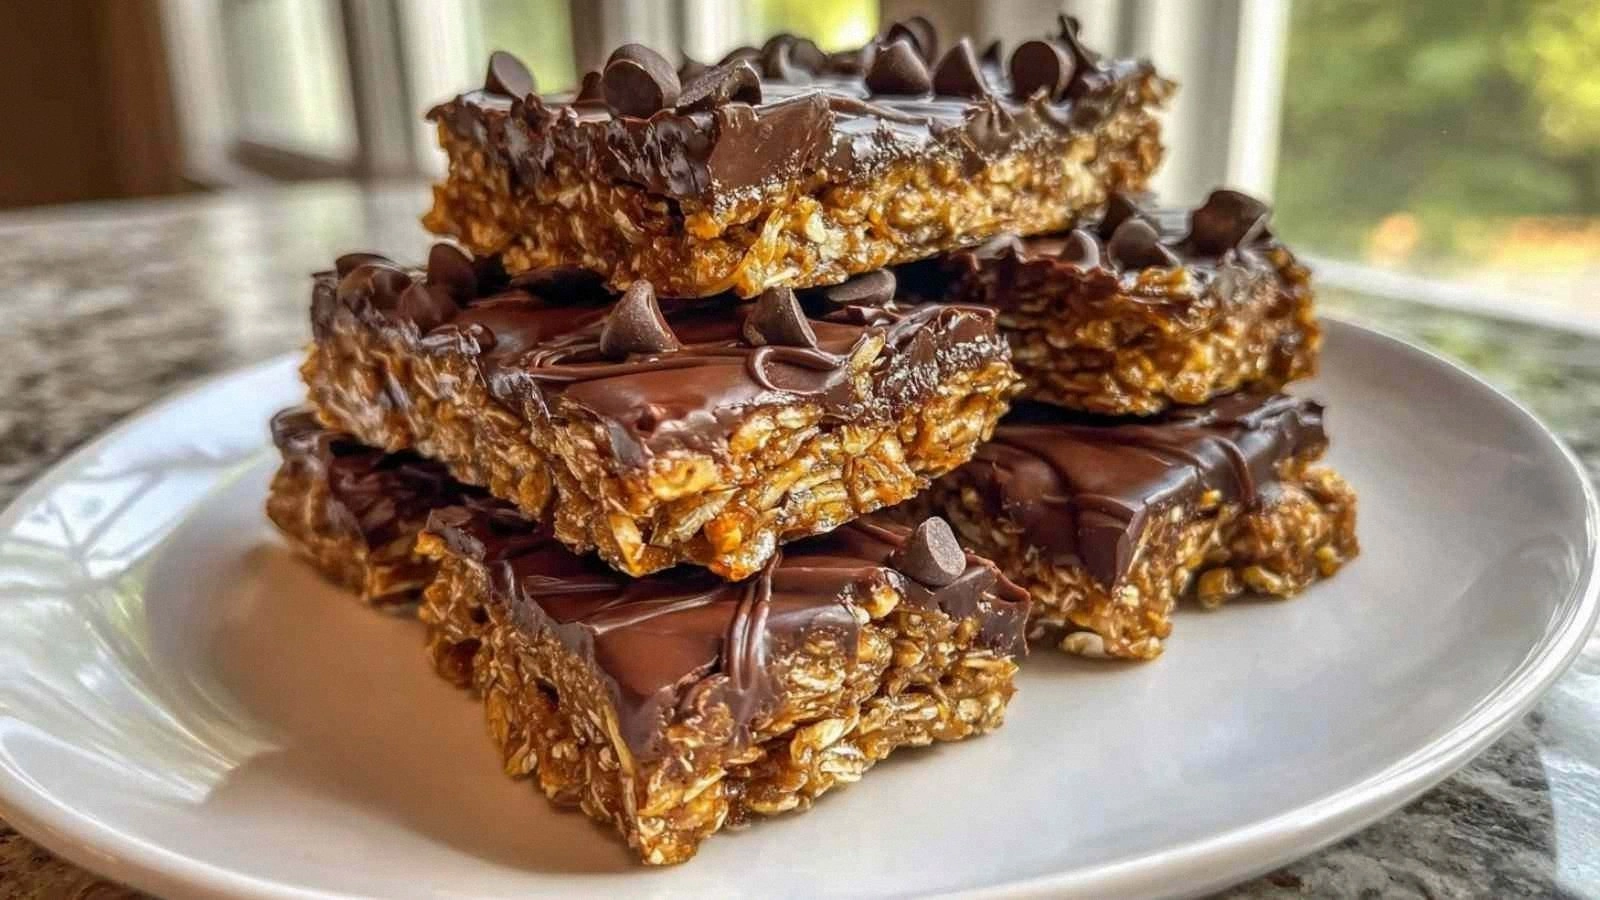
Chocolate Chip Cinnamon Rolls
Stir in a handful of semisweet chocolate chips into the filling for a decadent chocolate‑cinnamon combo. The chocolate chips melt slightly, creating pockets of gooey chocolate. This version is a hit with kids and adults alike, offering a double layer of indulgence.
Peanut Butter Swirl
Replace a portion of the brown butter glaze with creamy peanut butter. The peanut butter adds a nutty, salty contrast that pairs wonderfully with the cinnamon. Add a drizzle of honey for an extra touch of sweetness. This variation is ideal for those who love a mix of flavors.
Lemon Poppy Seed
Swap the cinnamon for a blend of lemon zest and poppy seeds. The bright lemon flavor cuts through the richness, while the poppy seeds add a delightful crunch. Finish with a dusting of powdered sugar for a sweet, citrusy finish. This option is great for a springtime brunch.
Maple Bacon
Incorporate crispy bacon bits into the filling for a sweet‑savory experience. Drizzle a splash of pure maple syrup over the glaze for an extra layer of flavor. The bacon’s smoky undertone complements the maple, creating a complex, savory-sweet roll. This variation is a crowd‑pleaser at holiday gatherings.
Salted Caramel
Replace the brown butter glaze with a salted caramel sauce. The caramel’s buttery sweetness is offset by a pinch of sea salt, creating a balanced flavor. Sprinkle a few sea salt flakes on top for an added crunch. This twist turns the cinnamon roll into a dessert that feels both indulgent and sophisticated.
Storing and Bringing It Back to Life
Fridge Storage
Store the baked rolls in an airtight container at room temperature for up to 3 days. The rolls will stay moist and flavorful, thanks to the butter and sugar content. When you’re ready to eat, let them sit at room temperature for 15 minutes before slicing. This short rest restores the rolls’ softness.
Freezer Friendly
Wrap the rolls individually in plastic wrap, then place them in a freezer bag. They can be frozen for up to 3 months. When you want to enjoy them, thaw at room temperature for 2 hours, then warm in a 350°F oven for 10 minutes. The heat will revive the crispness of the glaze and the softness of the crumb.
Best Reheating Method
To reheat, preheat your oven to 350°F (175°C). Place the rolls on a baking sheet and cover loosely with foil to prevent the glaze from drying out. Warm for 8–10 minutes, or until heated through. A tiny splash of water added to the glaze before reheating will create steam, keeping the rolls moist and silky. This trick ensures the rolls taste freshly baked.