I never thought a burnt dinner could spark a culinary revelation, but that night my attempt at roasted cauliflower turned into a charred mess that still smelled like hope. The oven was blazing, the florets were blackened to a crisp, and I stared at the kitchen counter like a detective on a crime scene. My friends joked that the smoke alarm had finally found its purpose, but I was determined to salvage what I could. That moment of culinary crisis turned into a spark of creativity: a recipe that would make even the most skeptical taste buds dance. This is the story behind the Tangy Lemon Pepper Cauliflower that will change the way you think about veggies.
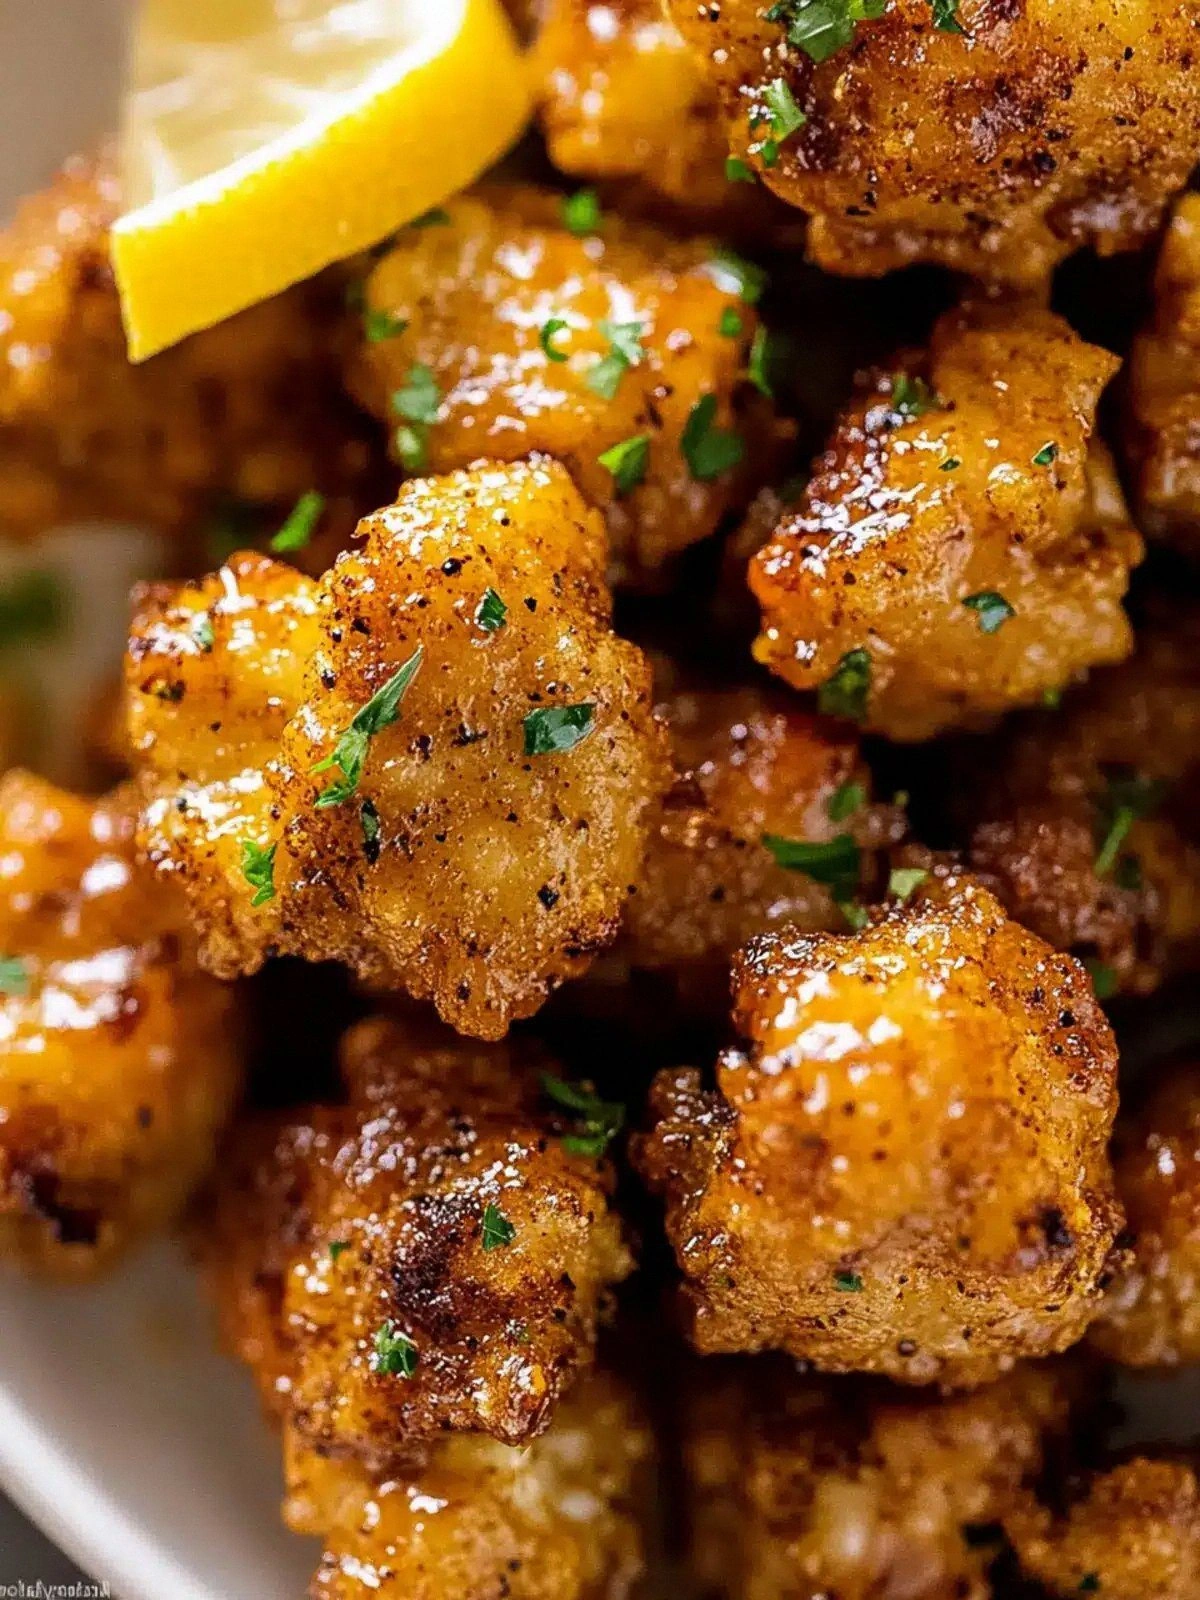
Picture the kitchen at noon: the hum of the refrigerator, the clatter of utensils, the faint scent of lemon zest dancing in the air. I could almost taste the citrusy tang that would later coat each floret, feel the crunch of breadcrumbs, and hear the satisfying crackle as the batter sizzles on the pan. The visual of golden, peppery florets glistening under the oven light is a feast for the eyes, while the aroma of roasted cauliflower and lemon pepper invites you to taste before you even take a bite. The texture is a glorious contrast—soft, tender inside, with a crisp, caramelized exterior that gives way to a burst of zesty flavor. And the final taste is a harmonious blend of bright citrus, smoky pepper, and sweet maple, all wrapped in a light, airy batter that makes each bite feel indulgent yet guilt‑free.
What sets this version apart is that it’s not just a cauliflower dish; it’s a flavor experience that refuses to be ordinary. I’ve taken the humble vegetable, turned it into a crispy, crunchy, and utterly addictive bite that even the most stubborn eaters will crave. The batter is light and airy, thanks to a secret cornstarch‑water blend that keeps the coating from becoming heavy. The breadcrumb shell adds a satisfying crunch that shatters like thin ice, while the lemon‑pepper glaze coats each floret in a velvety, tangy sauce that lingers on the palate. I dare you to taste this and not go back for seconds.
The twist that will blow your mind? I didn’t just toss the cauliflower in a batter; I created a two‑step coating process that layers flavor and texture. First, each floret is dipped in a lemon‑pepper‑flour batter that sets the stage. Then, a second dip in breadcrumbs locks in the crunch and locks in the flavor. Finally, a glaze of maple syrup, lemon juice, and fresh parsley creates a glossy finish that feels like a dessert on a savory plate. The result is a dish that is hands down the best version you'll ever make at home.
Let me walk you through every single step—by the end, you'll wonder how you ever made it any other way. I’ll share the secrets that make this cauliflower sing, the kitchen hacks that save time, and the insider tricks that guarantee a flawless outcome. Whether you’re a seasoned cook or a kitchen newbie, you’ll find this recipe approachable, delicious, and surprisingly quick to whip up. So grab your apron, and let’s dive into the adventure that starts with a humble head of cauliflower and ends with a plate of golden, zesty, mouth‑watering bites.
What Makes This Version Stand Out
Here’s why this recipe is a game‑changer in the world of veggie appetizers:
- Flavor: The lemon‑pepper seasoning gives a bright, citrusy punch that cuts through the mildness of cauliflower, creating a taste profile that feels both fresh and indulgent.
- Texture: The two‑layer coating—flour batter followed by breadcrumbs—creates a crisp exterior that shatters like thin ice, while the interior remains tender and fluffy.
- Ease: All the steps can be done in under 30 minutes, and the recipe scales effortlessly for larger crowds or single servings.
- Health: With gluten‑free flour, almond milk, and maple syrup, this dish stays low‑fat and low‑calorie while still delivering a satisfying bite.
- Versatility: It pairs beautifully with dips, can be served as a side or main, and works as a snack for game nights or brunch.
- Make‑ahead Friendly: You can prep the batter and coating ahead of time and refrigerate, then bake just before serving for maximum convenience.
- Visual Appeal: The golden crust, the glossy glaze, and the fresh parsley garnish make it Instagram‑ready.
Alright, let's break down exactly what goes into this masterpiece...
Inside the Ingredient List
The Flavor Base
The foundation of this dish starts with the cauliflower itself—choose a head that’s firm, with bright white florets. The lemon pepper seasoning is the star of the show; it brings citrus brightness and a subtle heat that lingers on the tongue. If you’re craving a bit of heat, add a pinch of cayenne pepper, but be careful—too much can overpower the lemon notes. A splash of fresh lemon juice at the end brightens the flavor profile and adds a subtle tartness that balances the maple’s sweetness.
The Texture Crew
The gluten‑free flour mix provides a light, neutral base that lets the lemon pepper shine. It also helps the batter cling to the cauliflower without becoming heavy. Unsweetened almond milk is the liquid that binds the batter; it’s low in calories yet rich enough to give the coating a silky feel. Cornstarch and water form a slurry that helps the coating set quickly, preventing sogginess. The crispy gluten‑free breadcrumbs add that satisfying crunch that gives the dish its signature “shatter‑like” bite.
The Unexpected Star
Maple syrup or agave nectar isn’t just a sweetener—it’s a caramelizing agent that gives the glaze a glossy sheen. The fresh parsley adds a burst of green color and a subtle herbal note that cuts through the richness. The freshly grated lemon zest is a flavor bomb; its essential oils release a citrus aroma that lingers long after the first bite. Together, these ingredients create a glaze that coats every floret in a sweet‑tangy, mouth‑watering finish.
The Final Flourish
To finish, a dash of freshly ground black pepper adds depth and a hint of spice that balances the sweetness. A pinch of salt is essential to bring all the flavors together; remember, you can always add more later, but you can’t remove excess salt. The final touch is a sprinkle of chopped parsley, which adds a pop of color and a fresh, bright flavor that completes the dish. If you’re feeling adventurous, add a drizzle of extra‑virgin olive oil before baking to give the crust a subtle sheen.
Everything's prepped? Good. Let's get into the real action...
The Method — Step by Step
- Preheat your oven to 400°F (200°C) and line a baking sheet with parchment paper or a silicone mat. The high heat is crucial for achieving that golden crust, and the parchment prevents sticking. Let the sheet rest while you prep the cauliflower so you’re ready to bake as soon as the oven is up to temperature.
- Rinse the cauliflower head under cold water, then cut it into bite‑size florets. Pat them dry with a clean towel; moisture is the enemy of crispness. If you notice any yellow or soft spots, trim them away—fresh, firm florets are the key to a crunchy finish.
- In a shallow bowl, whisk together the gluten‑free flour mix, 2 tablespoons of lemon pepper seasoning, a pinch of salt, and a dash of freshly ground black pepper. This dry mix will form the base of your batter and give the coating its zesty kick.
- In a separate bowl, combine 1 cup unsweetened almond milk, 1 tablespoon lemon juice, 2 tablespoons maple syrup (or agave nectar), 1 tablespoon cornstarch, and 1/2 cup water. Whisk until the cornstarch is fully dissolved, creating a smooth slurry that helps the coating set without becoming soggy.
- Dip each cauliflower floret first into the dry flour mixture, ensuring it’s fully coated, then into the almond milk slurry, and finally into the crispy breadcrumbs. The two‑layer coating will give you that coveted crunch and a light, airy interior. Arrange the coated florets on the prepared baking sheet, leaving a little space between each piece so they roast evenly.
- Bake in the preheated oven for 25 minutes, flipping the florets halfway through. You’ll know they’re done when the edges are golden and the coating feels firm to the touch. The aroma of roasted cauliflower and lemon pepper should fill the kitchen, making your mouth water even before the first bite.
- While the cauliflower bakes, prepare the glaze: combine 1 cup crispy breadcrumbs, 1 tablespoon lemon zest, 2 tablespoons chopped parsley, 1 tablespoon maple syrup, 1 tablespoon lemon juice, 1 teaspoon freshly ground black pepper, 1 tablespoon almond milk, 1 tablespoon cornstarch, and 1/2 cup water in a saucepan. Whisk until smooth, then heat over medium heat until it thickens into a glossy sauce—about 3–4 minutes.
- When the cauliflower is done, remove it from the oven and drizzle the glaze evenly over the florets. Toss gently to coat each piece. Return the sheet to the oven for an additional 5 minutes to allow the glaze to caramelize and set.
- Remove from the oven, sprinkle with fresh parsley, and serve immediately. The glaze should be glossy, the crust crisp, and the interior tender—an explosion of flavor in every bite. If you’re feeling extra indulgent, serve with a side of ranch or a tangy yogurt dip.
That's it — you did it. But hold on, I've got a few more tricks that'll take this to another level. Stick around for some insider tips that will make your cauliflower even more irresistible.
Insider Tricks for Flawless Results
The Temperature Rule Nobody Follows
Many people bake at 375°F, but 400°F is the sweet spot for crispness. The higher temperature creates a quick crust that seals in moisture, keeping the cauliflower tender inside. If your oven runs hot, lower the temperature by 25°F and extend the baking time by 5 minutes. This tweak ensures consistent results even if your oven’s thermostat is a little off.
Why Your Nose Knows Best
As the cauliflower bakes, you’ll notice a subtle aroma of toasted breadcrumbs. That scent is a cue that the coating is golden and ready. If the smell is still faint after 20 minutes, give it a few more minutes. A strong, nutty scent signals that the sugar in the maple syrup is caramelizing, creating a sweet‑tangy glaze.
The 5‑Minute Rest That Changes Everything
After removing the cauliflower from the oven, let it rest on the sheet for 5 minutes. This resting period allows the juices to redistribute, preventing the coating from becoming soggy. The glaze will also set slightly, giving each bite a firmer, more satisfying texture. Skipping this step can result in a soggy finish that ruins the crunch you worked so hard to achieve.
Keep the Batter Light
If your batter feels heavy, add a splash of sparkling water or club soda. The carbonation helps aerate the mixture, making the coating lighter. Be careful not to over‑whisk; you want a smooth batter, not a frothy one that will separate during baking.
Make‑Ahead Magic
You can prepare the batter and breadcrumb coating up to 24 hours in advance. Store them separately in airtight containers in the refrigerator. When you’re ready to bake, simply dip the florets and bake as directed. This prep method saves time on busy nights and ensures you always have a quick, delicious option ready to go.
Finish with a Fresh Herb Splash
Right before serving, sprinkle a handful of fresh parsley or a drizzle of lemon‑infused olive oil. The fresh herb adds a burst of green color and a bright, herbal note that cuts through the sweetness of the glaze. If you’re a fan of fresh herbs, try adding a pinch of dill or basil for an unexpected twist.
Creative Twists and Variations
This recipe is a playground. Here are some of my favorite ways to switch things up:
Spicy Chipotle Kick
Add 1 teaspoon chipotle powder to the flour mix and replace maple syrup with 1 tablespoon honey for a smoky, spicy glaze. The chipotle brings a deep heat that pairs wonderfully with the citrusy brightness of the lemon pepper. This variation is perfect for those who love a little heat in their bites.
Herb‑Infused Parmesan Crunch
Swap the gluten‑free breadcrumbs for a blend of Parmesan cheese and almond flour. Toss the cauliflower in a mixture of dried oregano, thyme, and rosemary before coating. The result is a savory, cheesy crust that’s a hit with cheese lovers.
Sweet Coconut Glaze
Replace the maple syrup with coconut milk and add shredded coconut to the breadcrumb coating. Finish with a drizzle of toasted coconut flakes for a tropical twist that’s both sweet and nutty. This version is ideal for a beach‑themed dinner party.
Asian‑Inspired Sesame Crunch
Use toasted sesame seeds in place of breadcrumbs and add a splash of soy sauce to the glaze. Finish with a sprinkle of crushed red pepper flakes for a subtle heat. The sesame adds a nutty flavor that pairs well with the citrusy lemon pepper.
Low‑Calorie Air‑Fried Edition
Skip the oil in the batter and use an air fryer instead of the oven. Air‑frying at 400°F for 15 minutes gives you the same crispness with fewer calories. This version is great for those watching their intake but still craving a crunchy snack.
Cheesy Baked Parmesan Bites
After baking, sprinkle grated Parmesan over the cauliflower before returning it to the oven for 2 minutes. The cheese melts into the hot coating, creating a gooey, savory layer that’s simply irresistible. This twist turns the dish into a cheesy, comforting snack.
Storing and Bringing It Back to Life
This dish is as versatile as it is delicious. Whether you’re storing leftovers or reheating for a quick meal, the following tips will keep it tasting fresh.
Fridge Storage
Place the cooled cauliflower in an airtight container and store in the refrigerator for up to 3 days. The crunchy coating may soften slightly, so it’s best served within 24 hours for maximum crispness. If you notice some moisture, pat the florets dry with a paper towel before reheating.
Freezer Friendly
Freeze the baked cauliflower in a single layer on a parchment‑lined tray before transferring to a freezer bag. Store for up to 2 months. When ready to eat, bake at 375°F (190°C) for 15 minutes or until heated through. The coating will regain some crispness, though it may not be as fresh as when freshly baked.
Best Reheating Method
To revive the crunch, preheat your oven to 425°F (220°C) and bake the cauliflower for 5–7 minutes. Alternatively, use a toaster oven or air fryer for a faster option. Add a splash of water to the baking sheet to create steam, which keeps the cauliflower moist inside while the outside stays crisp.