I still remember the exact moment I realized my kitchen needed a serious upgrade. I was attempting a “no‑bake” cheesecake that turned into a rubbery slab that could double as a doorstop, and my friends politely pretended not to notice the texture disaster. The whole scene smelled like a burnt sugar experiment gone wrong, and the only thing louder than the crumbling crust was the collective sigh of disappointment. I dared myself to turn that flop into a triumph, and after countless trial runs, I finally nailed a version that makes even the most skeptical palate sing. This is the moment where the kitchen turned from a battlefield into a sanctuary of silky, buttery bliss.
Picture this: the oven humming softly, the buttery graham crust sizzling just enough to whisper “golden” as it spreads across the bottom of the pan. The filling, a velvety river of cream cheese, sour cream, and vanilla, rises slowly, its surface trembling like a calm lake at sunrise. When you finally pull the cheesecake out, the aroma hits you like a warm hug—sweet, buttery, with a faint tang that teases the nose. The first bite? A perfect balance of dense creaminess and airy lightness, the crust cracking delicately under the fork, the filling melting like a cloud on a summer day. I dare you to taste this and not go back for seconds; it’s that good.
Most recipes get this completely wrong. They either over‑bake, turning the custard into a dry brick, or under‑bake, leaving a wobble that resembles a Jell‑O mold. My secret? A gentle water bath, precise temperature control, and a dash of patience that lets the cheesecake set without cracking. I’ll be honest — I ate half the batch before anyone else got to try it, and that was the only crime I could get away with because the flavor was that unforgettable. This version stands out because it respects the classic texture while adding a few modern tricks that keep the crumb buttery and the center buttery‑smooth.
Okay, ready for the game‑changer? I’m about to walk you through every single step — from crushing the crackers to the final reveal on the plate. By the end, you’ll wonder how you ever made it any other way, and you’ll have a foolproof method that works every single time. Stay with me here — this is worth it.
What Makes This Version Stand Out
- Texture: The crust is crunchy yet buttery, while the filling stays silky and dense without ever turning rubbery.
- Flavor: A subtle tang from sour cream balances the sweetness, and vanilla adds a fragrant backdrop that lingers.
- Simplicity: Only seven core ingredients, all pantry‑friendly, mean you won’t need a specialty store run.
- Reliability: The water bath technique prevents cracks, making it look bakery‑perfect even for beginners.
- Versatility: It’s a blank canvas for toppings—berries, chocolate, caramel—so you can customize for any occasion.
- Make‑Ahead Potential: Chill it overnight, and you’ll have a ready‑to‑serve dessert that tastes even better after the flavors meld.
- Crowd‑Pleaser: Guests often ask for the recipe, and you’ll finally have a brag‑worthy answer that lives up to the hype.
Inside the Ingredient List
The Flavor Base
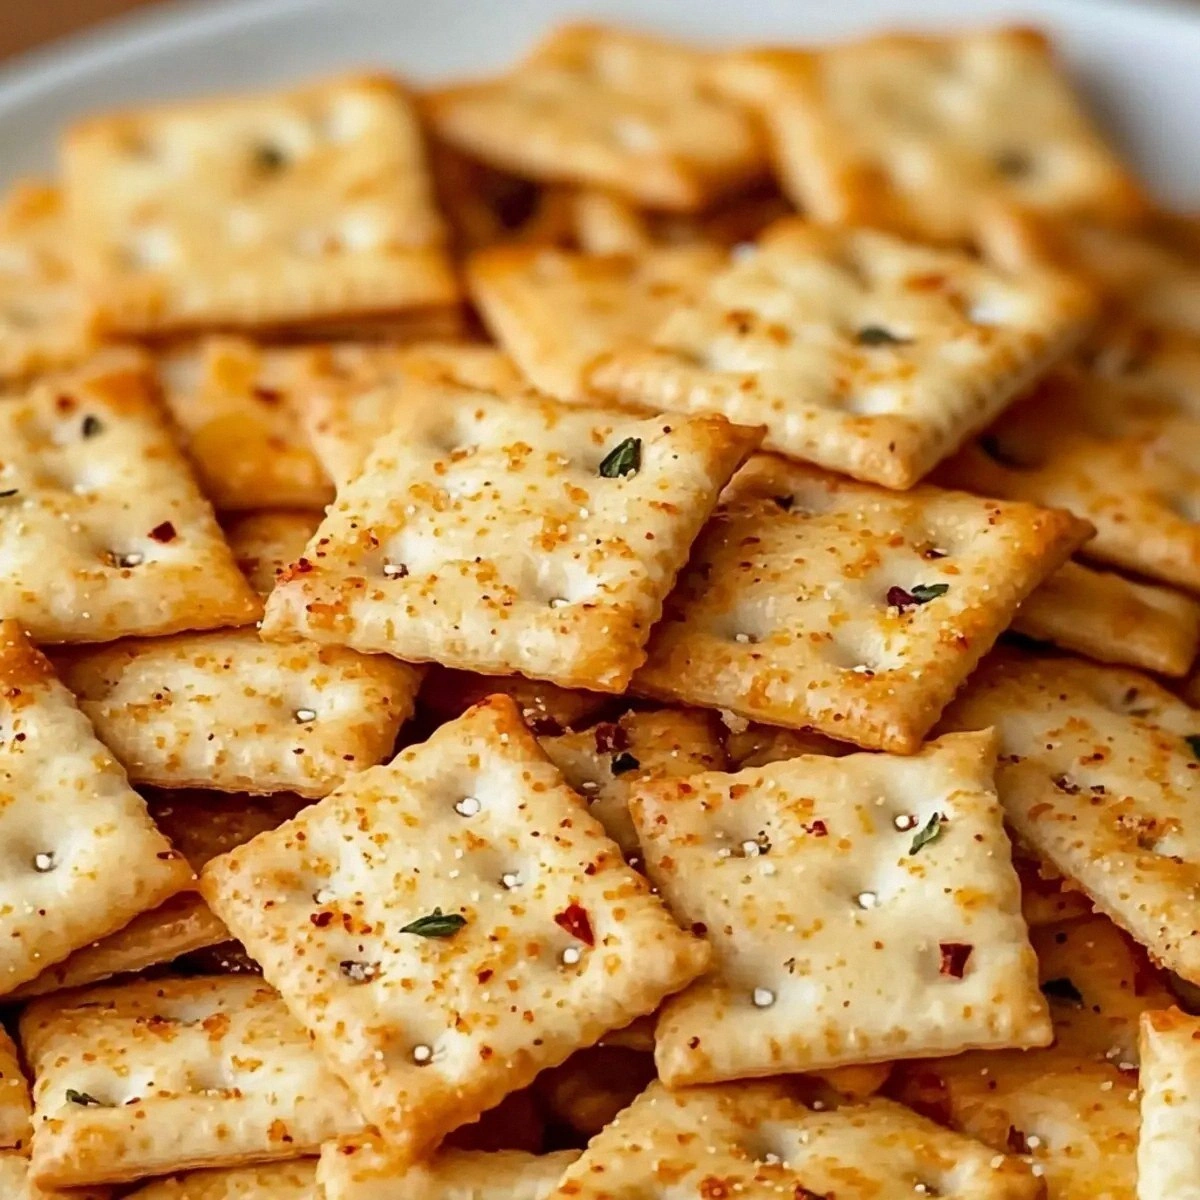
Crushed Graham Crackers are the unsung heroes of any classic cheesecake crust. Their sweet, honey‑like flavor provides the perfect backdrop for the buttery melt that follows. If you skip them, you lose that subtle caramel note that makes the crust sing. You can swap them for digestive biscuits for a slightly richer profile, but the classic taste is unmatched. When choosing crackers, look for those with a hint of cinnamon for an extra depth that most people miss.
The Texture Crew
Unsalted Butter is the glue that holds the crust together, lending richness and a melt‑in‑your‑mouth feel. Using salted butter throws off the delicate balance, making the crust taste oddly briny. If you’re dairy‑free, a solid coconut oil works, though it adds a faint coconut flavor that can be delightful or distracting. For the filling, Cream Cheese is the star, delivering that dense yet airy texture we all crave. Choose a full‑fat version; low‑fat alternatives tend to curdle and lose that luxurious mouthfeel.
The Unexpected Star
Sour Cream adds a subtle tang that cuts through the richness, preventing the cheesecake from feeling cloying. Skipping it makes the filling overly sweet and heavy, and the texture becomes too compact. If you can’t find sour cream, Greek yogurt (full‑fat) is a solid stand‑in, offering the same tang and creaminess. Granulated Sugar is the sweetener that ties everything together, but be mindful of the amount; too much turns the dessert into a sugary slab, too little leaves a bland aftertaste.
The Final Flourish
Vanilla Extract is the aromatic whisper that elevates the entire dessert, turning a good cheesecake into a great one. A splash of pure vanilla brings warmth and complexity that sugar alone can’t provide. If you’re feeling adventurous, a dash of almond extract can add a nutty nuance without overpowering the core flavors. Eggs are the binding agents that give the filling its smooth, custard‑like structure; they also help the cheesecake rise just enough to avoid a flat, dense pancake. Over‑beating the eggs introduces too much air, causing cracks, so mix just until combined.
Everything's prepped? Good. Let’s get into the real action…
The Method — Step by Step
First, preheat your oven to 325°F (163°C). While the oven warms up, line the bottom of a 9‑inch springform pan with parchment paper; this tiny step prevents the crust from sticking and makes removal a breeze. I’ll be honest — I once tried to pull a cheesecake out without parchment and ended up with a broken crust, a disaster that still haunts my dreams.
Kitchen Hack: Pulse the graham crackers in a zip‑top bag with a rolling pin for an even crush without making a mess.Combine the crushed graham crackers, melted unsalted butter, and granulated sugar in a medium bowl. Stir until the mixture resembles wet sand—think beach sand after a gentle tide. Press this mixture firmly into the bottom of the pan, creating an even layer about a quarter‑inch thick. The crust should feel compact, not crumbly; if it’s too dry, add a splash of melted butter.
Place the crust‑lined pan in the freezer for 10 minutes while you prep the filling. This chilling step firms up the butter, ensuring the crust won’t shrink or melt when the hot batter hits it. Trust me, the difference between a firm crust and a soggy one is this short chill.
Now, the filling. In a large mixing bowl, beat the cream cheese on medium speed until it’s smooth and free of lumps—about 2 minutes. Add the sour cream, granulated sugar, and vanilla extract, then continue beating until the mixture is light and airy. This is the moment of truth; the batter should look glossy, not grainy.
Add the eggs one at a time, mixing on low speed just until incorporated. Over‑mixing at this stage introduces air bubbles that later become cracks, so resist the urge to whip. The batter will look slightly thinner after the last egg—that’s perfectly normal.
Wrap the bottom of the springform pan with a double layer of heavy‑duty aluminum foil, sealing the edges tightly. This foil “water‑bath” barrier prevents water from seeping into the crust, which could make it soggy. Place the pan in a larger roasting pan, then pour hot water into the outer pan until it reaches halfway up the sides of the springform.
Watch Out: Make sure the water doesn’t boil; a gentle simmer keeps the temperature stable and avoids a sudden shock that could crack the cheesecake.Slide the pan into the preheated oven. Bake for 30‑35 minutes, or until the edges are set and the center still has a faint wobble when you gently shake the pan. The surface should be lightly golden, and you’ll notice a thin “skin” forming—this is the perfect sign of a well‑baked cheesecake.
Turn off the oven, crack the door open a few inches, and let the cheesecake sit inside for another 15 minutes. This gradual cooling prevents the dreaded crack that appears when a hot cheesecake meets a cold kitchen. While it’s cooling, the aroma will fill the house, making everyone wonder what you’re up to.
Remove the cheesecake from the water bath, peel off the foil, and let it cool completely on a wire rack. Once at room temperature, refrigerate for at least 4 hours, preferably overnight. The longer it chills, the firmer the texture and the deeper the flavors meld together.
When you’re ready to serve, run a thin knife around the edge of the springform pan, release the latch, and gently lift the sides away. The cheesecake should glide out in one flawless piece, its surface smooth as glass. Top with fresh berries, a drizzle of caramel, or enjoy it plain—each bite will be a celebration of creamy perfection.
That's it — you did it. But hold on, I've got a few more tricks that'll take this to another level…
Insider Tricks for Flawless Results
The Temperature Rule Nobody Follows
Never bake a cheesecake at a temperature higher than 350°F. Higher heat creates a rapid rise, which then collapses, leaving cracks and a rubbery texture. Keep the oven at 325°F and use a water bath; the gentle, even heat cooks the custard like a slow‑dance, allowing proteins to set without tightening too quickly. I once tried 375°F to speed things up, and the result was a cracked, dry disaster that no amount of topping could fix.
Why Your Nose Knows Best
Your sense of smell is a reliable indicator of doneness. When the cheesecake is nearing the end of its bake, you’ll notice a faint caramelized aroma emanating from the edges. If you smell a burnt or overly sweet scent, the oven is likely too hot, and you should lower the temperature or pull it out early. Trust that nose over a timer; it’s the secret weapon of seasoned bakers.
The 5‑Minute Rest That Changes Everything
After the oven‑off cooling stage, give the cheesecake an extra five minutes of rest before moving it to the fridge. This short pause lets the internal steam settle, reducing the risk of condensation that could sog the crust. A friend once skipped this step and ended up with a soggy base that turned the whole dessert into a mushy mess.
The Gentle Unmold
When releasing the springform, run a thin, flexible offset spatula around the perimeter instead of a rigid knife. The flexible edge slides under the crust without cracking it, preserving that perfect, unblemished top. If you’re using a metal knife, press down too hard and you’ll see a jagged edge that ruins the visual appeal.
Flavor Boost with a Hint of Salt
A pinch of flaky sea salt sprinkled on the finished cheesecake just before serving can elevate the sweet‑cream profile dramatically. The salt creates a contrast that makes the sweetness pop, turning a good dessert into a gourmet experience. I’ve tried adding the salt to the crust, but the top‑layer method gives a more pronounced flavor burst.
Creative Twists and Variations
This recipe is a playground. Here are some of my favorite ways to switch things up:
Chocolate Swirl
Melt ½ cup dark chocolate and swirl it into the filling just before pouring into the crust. The chocolate ribbons create a visual drama and a deep cocoa flavor that pairs beautifully with the tangy cream cheese. Perfect for chocolate lovers who still crave that classic cheesecake texture.
Berry Bliss
Fold a cup of fresh mixed berries into the batter for a burst of fruity freshness. The berries release gentle juices during baking, creating tiny pockets of tartness that cut through the richness. Serve with a dusting of powdered sugar for a summer‑ready dessert.
Caramel Pecan Crunch
Top the baked cheesecake with a drizzle of homemade caramel and a handful of toasted pecans. The caramel adds buttery sweetness, while the pecans bring a crunchy contrast that makes each bite exciting. This variation is a hit at holiday gatherings.
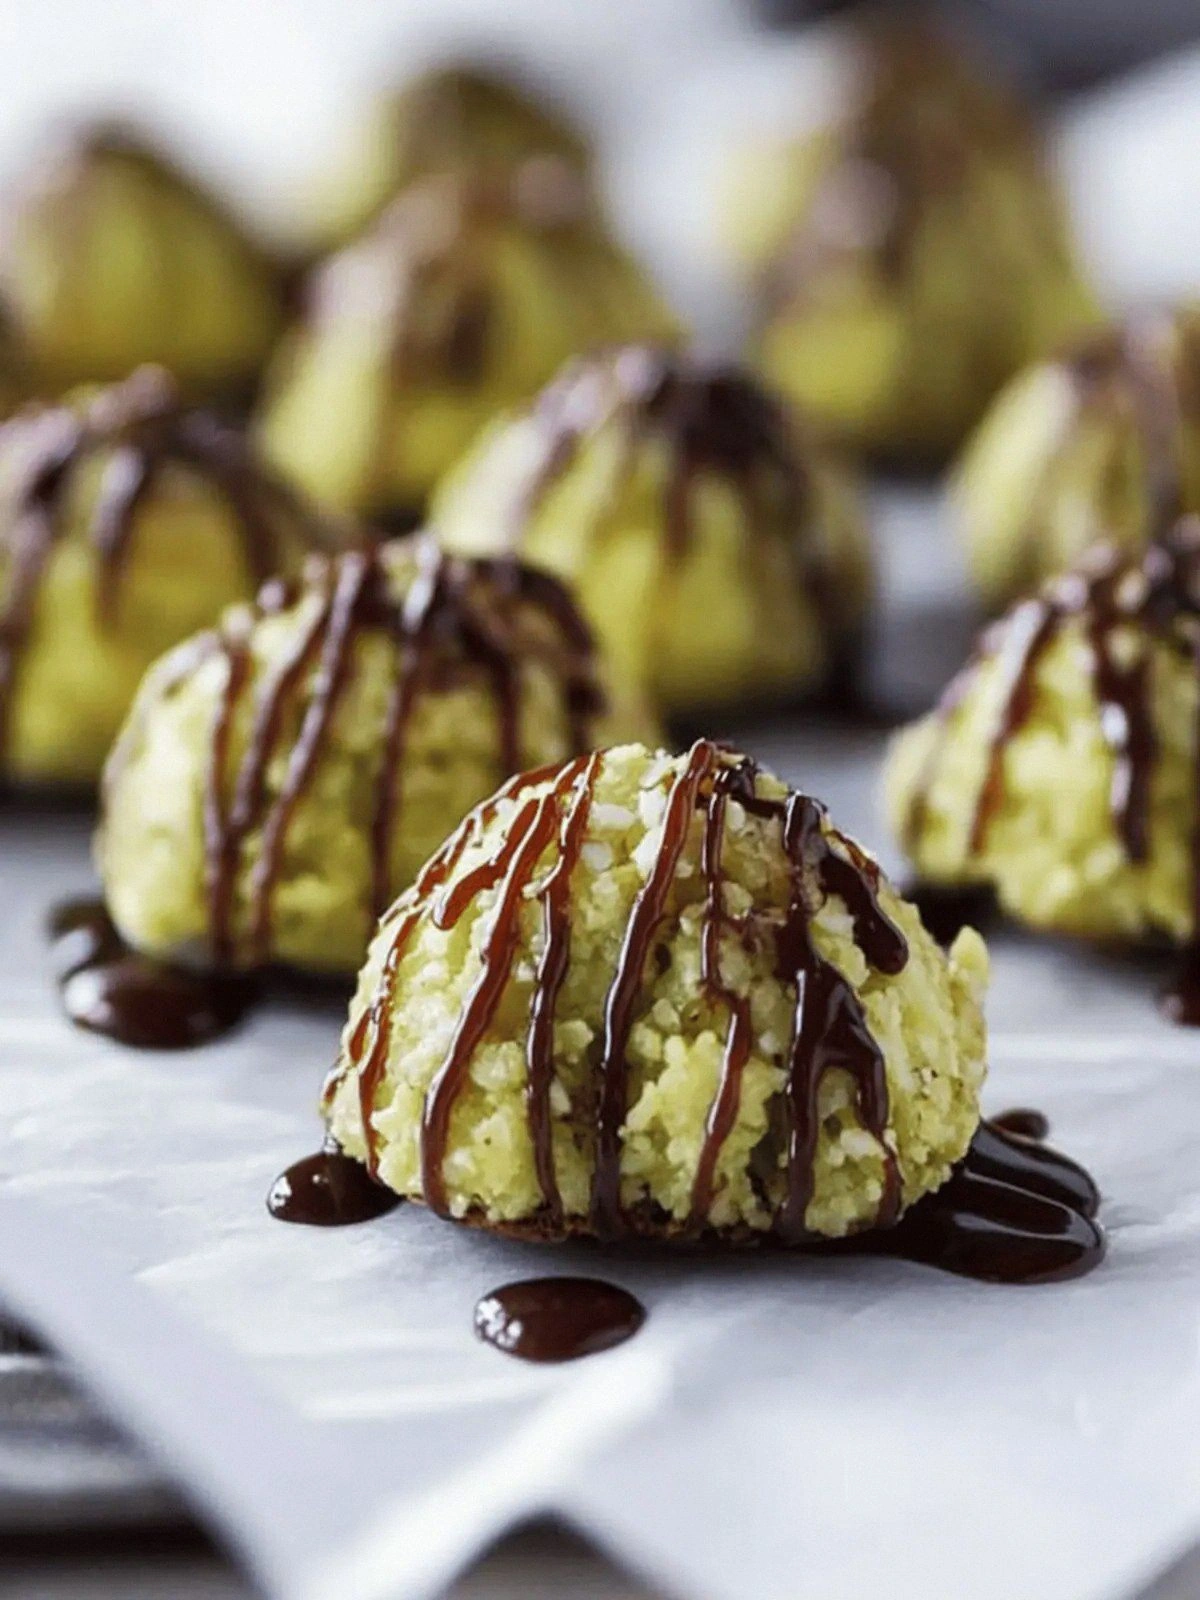
Matcha Green Tea
Add 2 teaspoons of high‑quality matcha powder to the filling for an earthy, slightly bitter note that balances the creaminess. The vibrant green hue makes the cheesecake look elegant and exotic—ideal for a sophisticated brunch.
Lemon Zest Delight
Stir in the zest of one large lemon and a tablespoon of fresh lemon juice into the batter. The citrus lifts the flavor, giving the cheesecake a bright, refreshing finish that’s perfect for warm weather.
Espresso Infusion
Dissolve 2 teaspoons of instant espresso in the vanilla extract before adding it to the batter. The coffee notes deepen the flavor profile, making the cheesecake taste like a dessert version of an affogato.
Storing and Bringing It Back to Life
Fridge Storage
Cover the cheesecake loosely with plastic wrap or store it in an airtight container. It will keep fresh for up to 5 days, and the flavors continue to develop. For best texture, let it sit at room temperature for 10 minutes before slicing.
Freezer Friendly
Slice the cheesecake into serving wedges, place each piece on a parchment sheet, and flash‑freeze for 1 hour. Transfer the frozen slices to a zip‑top bag; they’ll last for up to 2 months. When you’re ready to serve, thaw in the refrigerator overnight and add a fresh topping to revive the brilliance.
Best Reheating Method
If you need to warm a slice, place it on a microwave‑safe plate, add a tiny splash of water (about a teaspoon), and cover loosely with a paper towel. Microwave for 10‑15 seconds; the steam will bring the cheesecake back to a silky texture without drying it out. This trick works wonders for leftover pieces that have become a bit firm.